Wednesday, April 30, 2014

Dala Horse Soap: Tutorial


It's no secret that I'm a little obsessed with all things Scandinavian, including Dala horses. So when I received this Dala horse baking pan from IKEA that came with a mini Dala horse pan, I started brainstorming what I could make with it. I've always wanted to try my hand at soap making, and figured what would be cuter than little Dala horse soaps! I decided for a clementine-poppy-seed soap, the poppy seeds acting as a great way to exfoliate, and am quite happy with how they turned out.

Want to make your own? You will need:

Shea soap base, can be found at Michaels - (use a 40% off coupon  and it's only $6!)
Soap molds - I used my small Dala horse pans from IKEA, you could also use mini-muffin tins
Scents/add-ins - 1 tsp clemetine zest and 1 tsp poppy seeds
Coloring - optional (I didn't use)


Break off 6 cubes of the soap base, which is just enough to make 2 Dala horse soaps. Heat soap in a microwave-safe bowl for 30 seconds. Stir and microwave again in 10-second increments, stirring in between, until it is completely melted.
Stir in your scents/ingredients, and any coloring if desired.
Pour directly into your molds. Tap lightly on surface to release any air bubbles.


Allow to set for at least an hour before removing from molds. If your molds don't bend (like the Dala horse pans), you may need to pry one edge out for it to release completely. I used a toothpick and it barely left a mark.


Lather up and enjoy!

Friday, April 25, 2014

Swedish Cowl - take one

I'm making progress on my newest knitting project, my Swedish cowl. It's almost complete - just two more sections and it'll be done!


I'm excited to share the pattern with you all once it's done! I made the yellow stripes in seed stitch to give it some texture and I really like how it looks. I was hoping I could get away with only using one skein of each color, but alas, I ran out of the cream. Thankfully, Ryan was a doll and went to the knitting shop where I bought it (A Major Knitwork) and picked me up another skein this week after his classes. Isn't he just the best?! 

Hope you have a wonderful weekend!


Tuesday, April 22, 2014

Beet Fries

Yes, I may be a little obsessed with beets these days. But they're so good!

If you're looking for ways to cook beets, this is one of my favorites - roasted beet fries. They're so easy and delicious.

Beet Fries:
Skin and chop 2 large beets into sticks. Spread out evenly on a cookie sheet lined with foil. Drizzle 2 -3 tablespoons olive oil and sprinkle some salt and pepper.


Roast in a 400 degree oven for 20 minutes, stir around and cook an additional 10-20 minutes depending on how well done you like them.


Eat and enjoy!

Saturday, April 19, 2014

New Yarn

A couple weekends ago I ventured all over LA to participate in the LA Yarn Crawl with my fellow knitters. It was a blast and I came away with some awesome yarn. I did break my rule of buying yarn without a pattern to go with it...but I'm sure I'll come up with something for these lovely colors. They're Borecco's Maya yarn - a lightweight cotton and alpaca blend, and I'm in love.


I'm making another cowl pattern to knit with this blue and yellow yarn - it will be my Swedish cowl. :) When I'm finished I'll share the pattern with you all.


I'm usually not a big meme fan, but I found this one rather appropriate since I came back from the Yarn Crawl with 7 skeins of yarn and 2 bunches of roving...


Happy knitting, everyone!

Thursday, April 17, 2014

Beet Greens Smoothie


Ryan and I recently signed up for a local CSA (community supported agriculture) and I kid you not, I was like a little kid at Christmas when I opened up our first box. It was exhilarating, and I've never seen a bunch of more beautiful vegetables in my life [yes, I know I'm a huge nerd and I'm OK with that].

[a small bunch of the veggies from the box]

In our box were two ginormous beets with a ton of greens still attached. Beet greens are edible, but I usually end up throwing them out for lack of ideas of what to do with them. These were too great to toss, so I snipped them off, gave them a quick wash, and then threw them in the blender with a bit of water to make some beet greens puree. Then I froze them in ice cube trays and have been adding a few cubes into our breakfast smoothies. I love it because they give the smoothies extra purple color and up the nutritional value a bit too (high in Vitamin A + C, plus calcium and iron too).

Want to try one? They're good, I promise. Even Ryan likes them!


Beet Greens Smoothie

4 cubes frozen beet greens (see above for how-to)
6 large strawberries
1/4 cup fruit juice - I used pineapple
1/4 cup plain yogurt or kefir
1/2 cup oats
1 tsp hulled hemp seeds or chia seeds (optional)

Pour liquids in blender first, then add the remaining ingredients. Add additional pineapple juice (or yogurt, milk, or liquid of your choice) as needed to reach your desired consistency. Bottoms up!

Saturday, April 12, 2014

A day in the life

Here's a little peak into my everyday life:


You know, just Ryan being awesome. He's an expert dishwasher and helper in the kitchen. I don't know what I'd do without this goofball. In just two months will be our 3rd anniversary - where does time go!?

Wednesday, April 9, 2014

Little things

Just chugging away this week. Not much time for any serious crafting, but I did figure out that you can use knitting patterns for pearler bead patterns - success!


I've obviously been trying out a bunch of Scandinavian knitting patterns with the pearler beads. This little crayfish was from the crayfish hot pad pattern I knit a couple months back. 


So here's to enjoying the cheap thrills in life. Happy Wednesday!

Sunday, April 6, 2014

Swedish vanilla buns

So almost immediately after I posted about the top three fika treats I was excited to eat in Sweden, I started flipping through some Swedish cookbooks so I could make some fika treats of my own. I used IKEA's Fika cookbook again, and decided on these delicious little guys - vanilla buns.


Sidenote: I love kneading dough. Seriously one of my all-time favorite things. And look! I actually have counter space to knead at our new apartment!


These buns are really simple. A basic sweet dough with a vanilla filling that you put in right before the second rise. There's not so much filling that it squirts out like a jelly donut, but just enough so there is another level of flavor. When they come out of the oven I did a quick brush with melted butter and a dip in sugar.


They were pretty darn good. I ate them for breakfast 3 days in a row, and I don't regret it.

Hope you're having a grand weekend!

Thursday, April 3, 2014

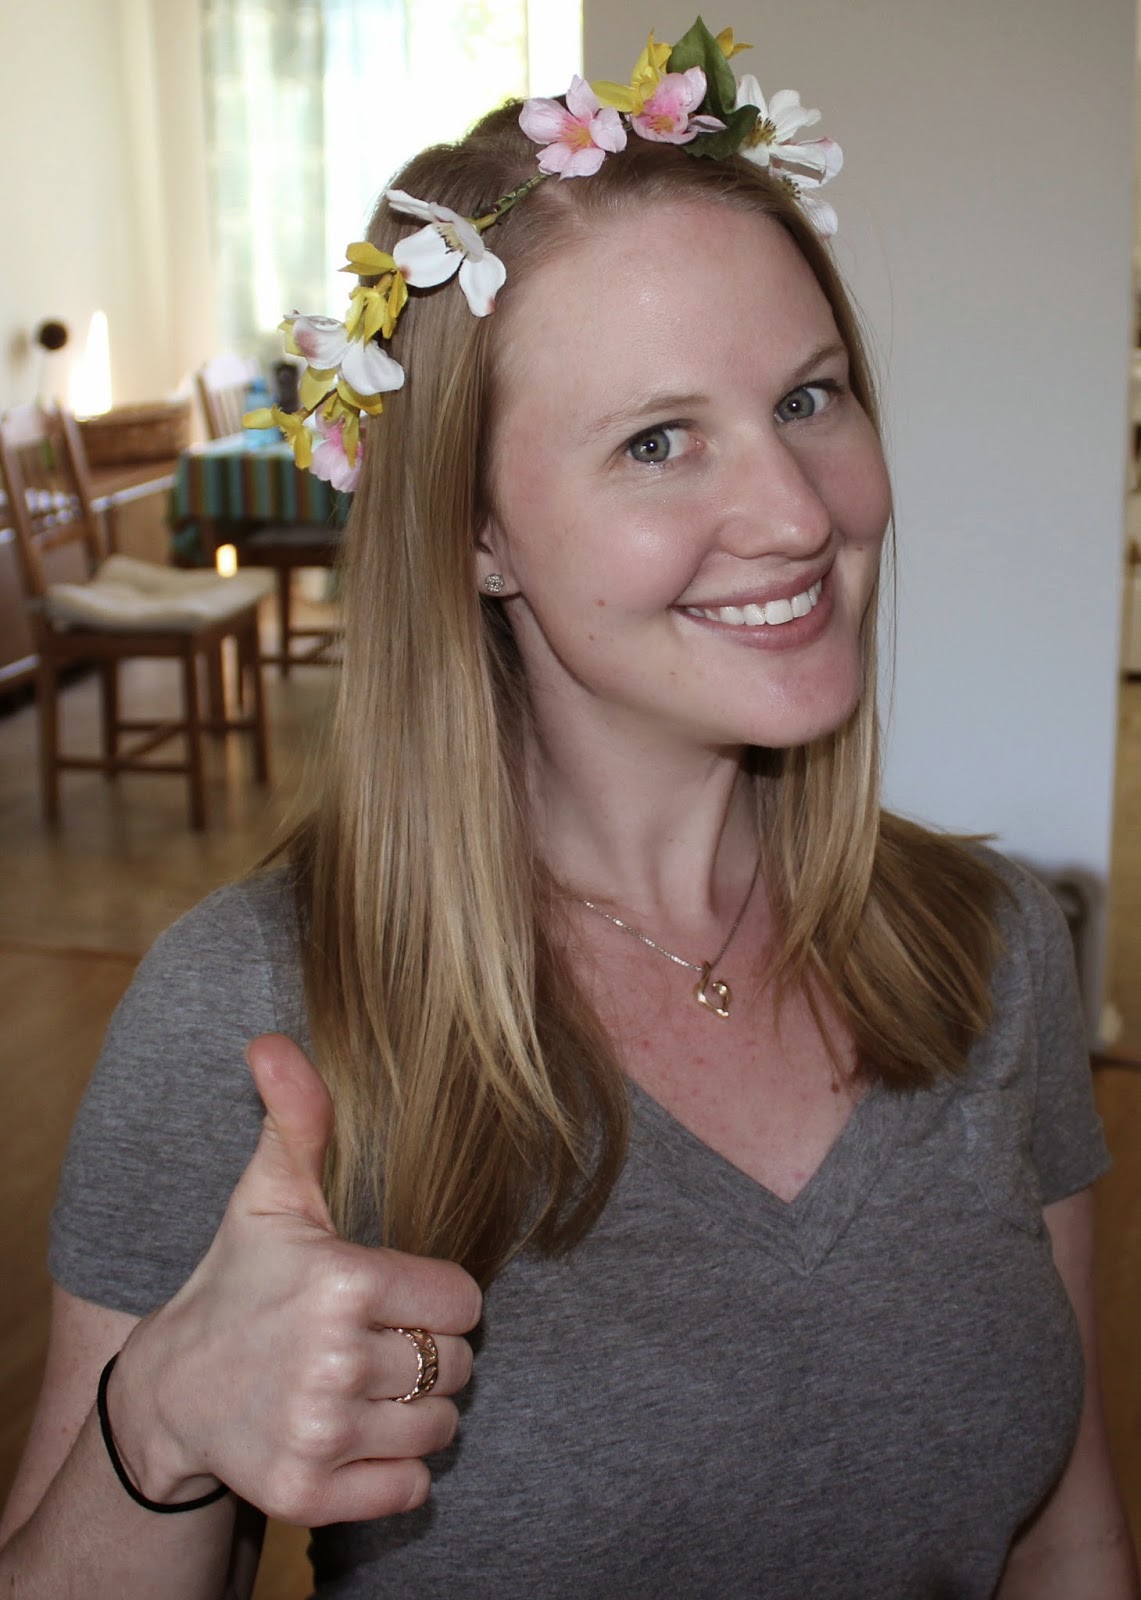
Midsommar Flower Crown Tutorial

Happy Spring, everyone!

Remember when I made a bazillion flower crowns last year for the Midsommar Fair? Well, we're not able to travel over to Kingsburg this Spring for the fair [maybe next year!], so instead I'm sharing this tutorial so you can make your very own flower crown!


You will need:

Floral wire: heavy-duty wire (comes in sticks as seen below) and the more pliable wound wire
Silk flowers - variety of colors/whatever you like

To start:
Take two pieces of the heavy-duty floral wire and twist both ends together to make a circle. Use your own head to determine how big you want your circle to be. This will be your crown base.


Break off pieces of your silk flowers in about 2-3 inch increments. Using the pliable, green floral wire, secure the silk flowers to your crown base.


Continue securing the silk flowers around the crown base with the floral wire. I like to keep the flowers all going the same direction (see photo below). I also like to overlap the flowers so there aren't large gaps in between.


You can always go back and layer more flowers if it doesn't look as full as you'd like. And if you so desire, you could always wrap over the floral wire with green floral tape. I usually don't do this part, but if you want to hide more of the wire (especially if you don't have a very full crown), it makes it look a little more finished.

Wear your crown and be glad it's finally Spring!